How to put yourself in a fish tank!
Back in college my calc teacher (shoutout Svetlana) emailed us to visit her Pepper's Ghost decoration that she setup for halloween. I didn't get to go, but thats where I remember learning about it, and it was immediately cool as hell to me. Looking into its uses, especially the ones at disney and other amusement venues, filled me with ideas.
Many many years later I had moved from home and found myself in an empty apartment. I wanted to pick my decorations carefully to the point where I was left with few, and my living room sat lifeless and cold. Finally I decided it was time to add some personal figures to the space, and at the time I was seeing a weird amount of pepper's ghosts on instagram. This is one I found saved to my phone:
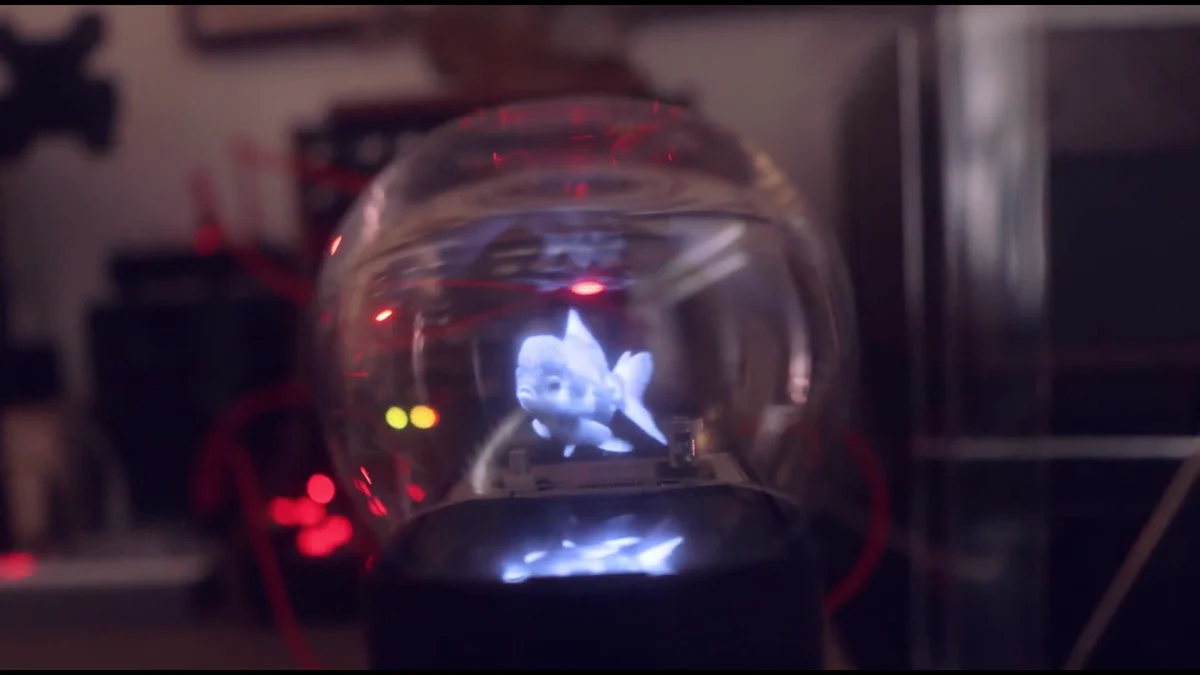
@ellingson.tv Here’s a how-to for making your own #peppersghost effect with your phone and food packaging. #diy #howto #make #demo #imagineering #vfx #practicaleffects #goldfish ♬ original sound - Joshua Ellingson
Constructing the Clock
I decided it would be fun to make a clock in the same manner, and got to planning one out. I can't find pictures of the sketches, but i have pictures of the whole process, so I'll skip ahead to that, but first, a components list:
Components List
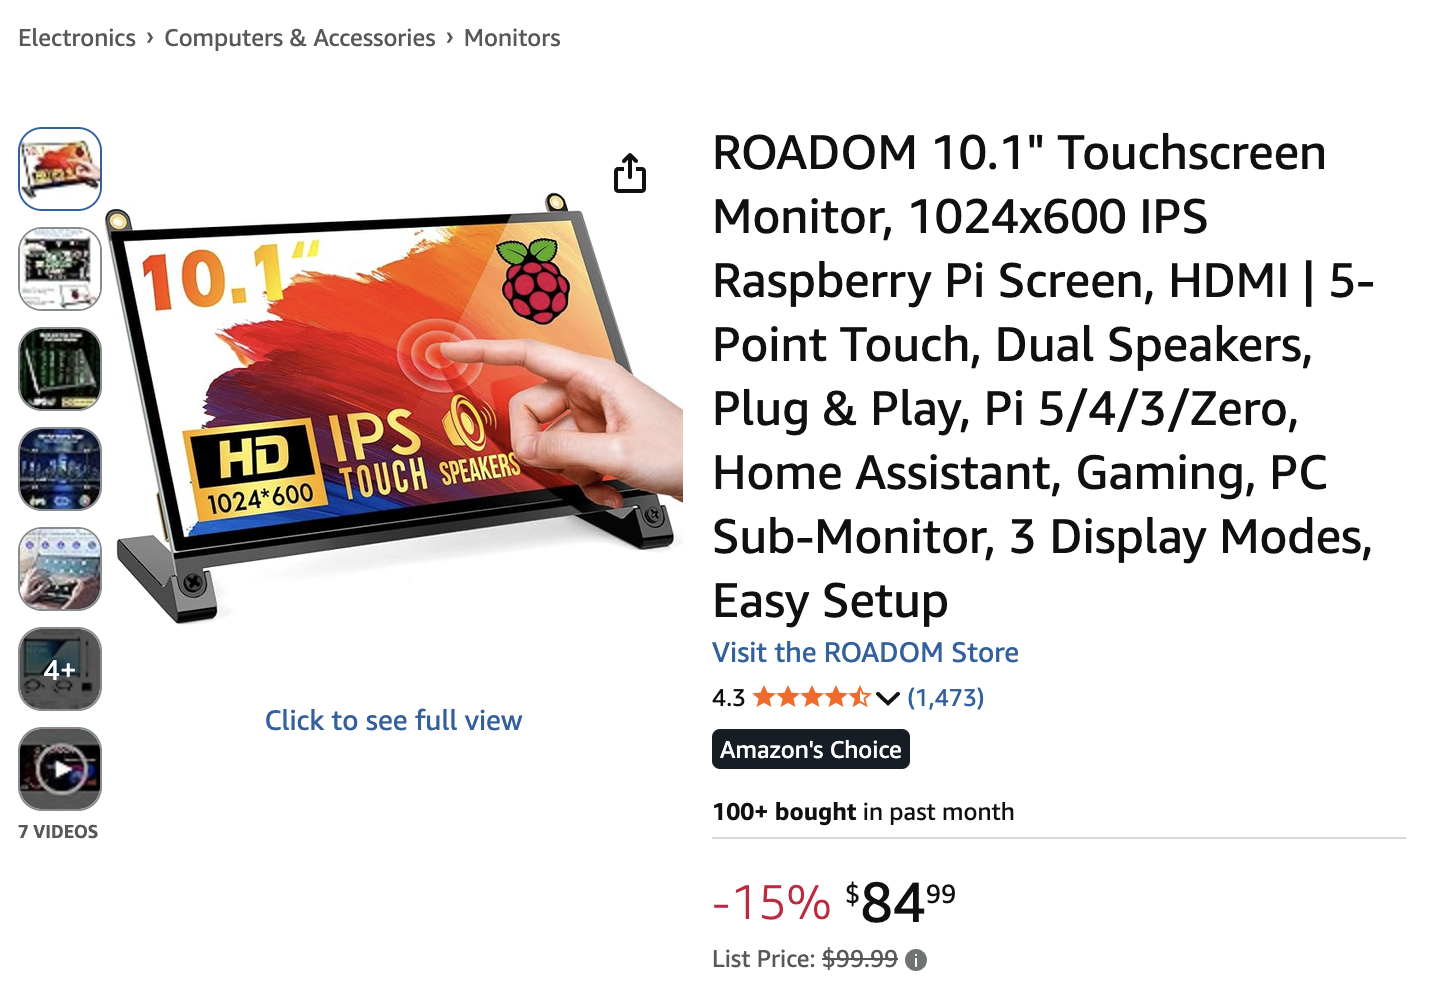
- 10" Raspi Screen (this one specifically)
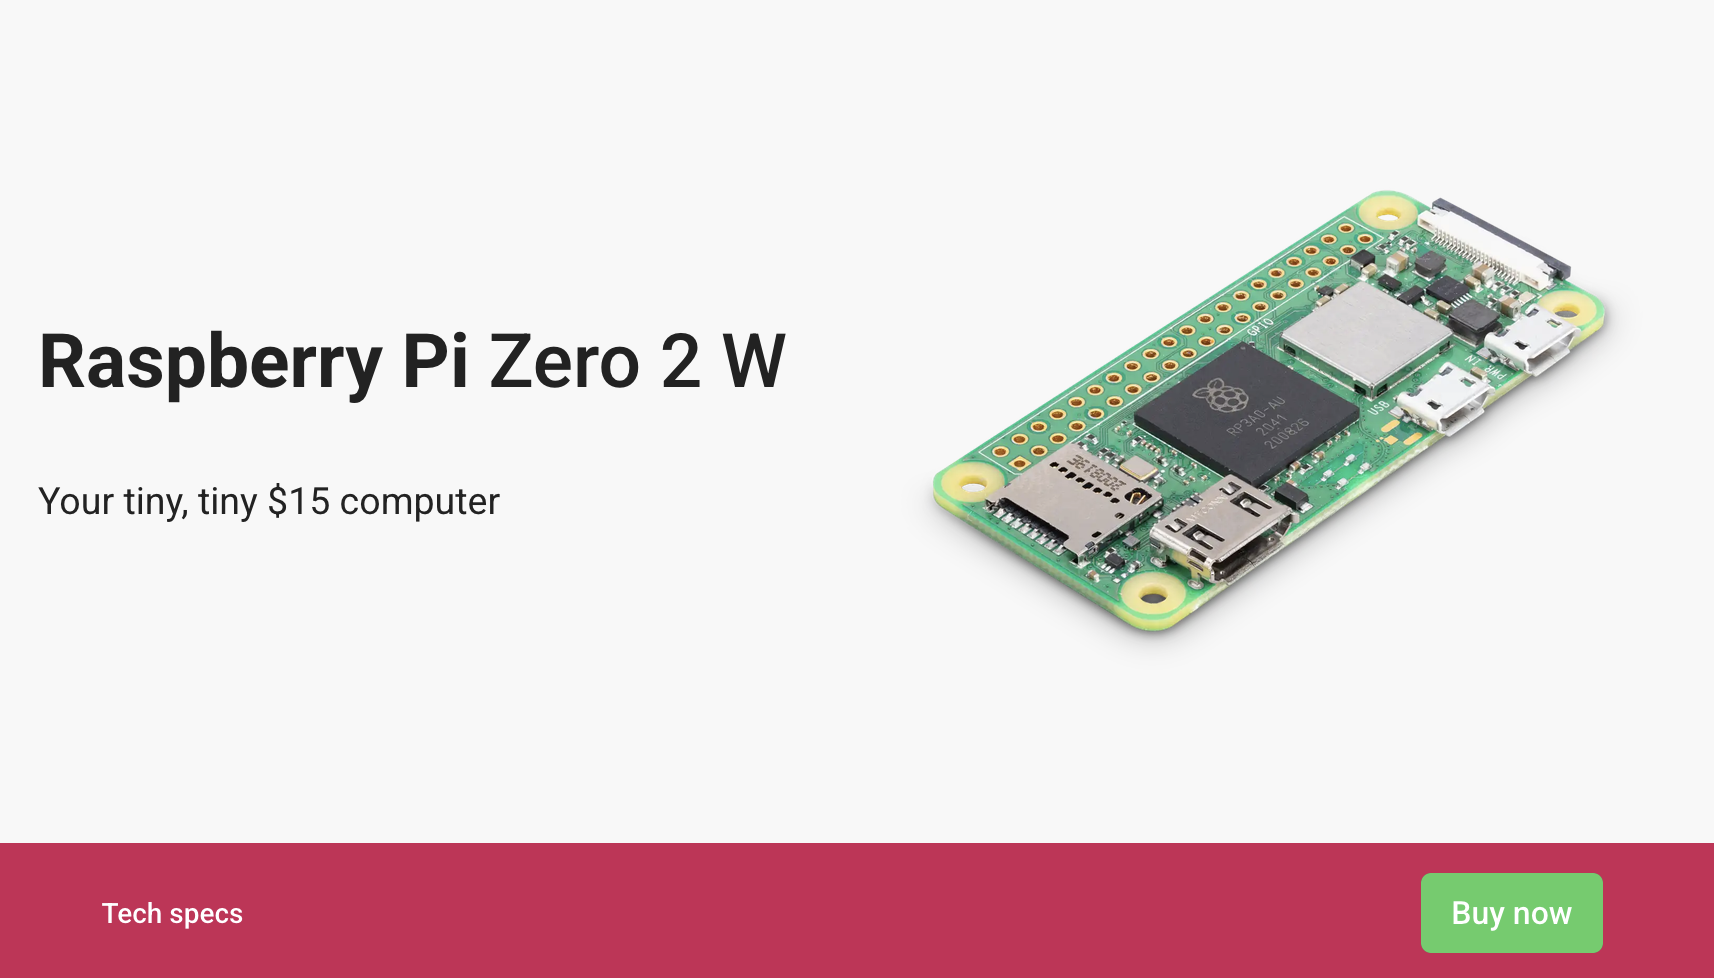
- Raspi Zero 2 W
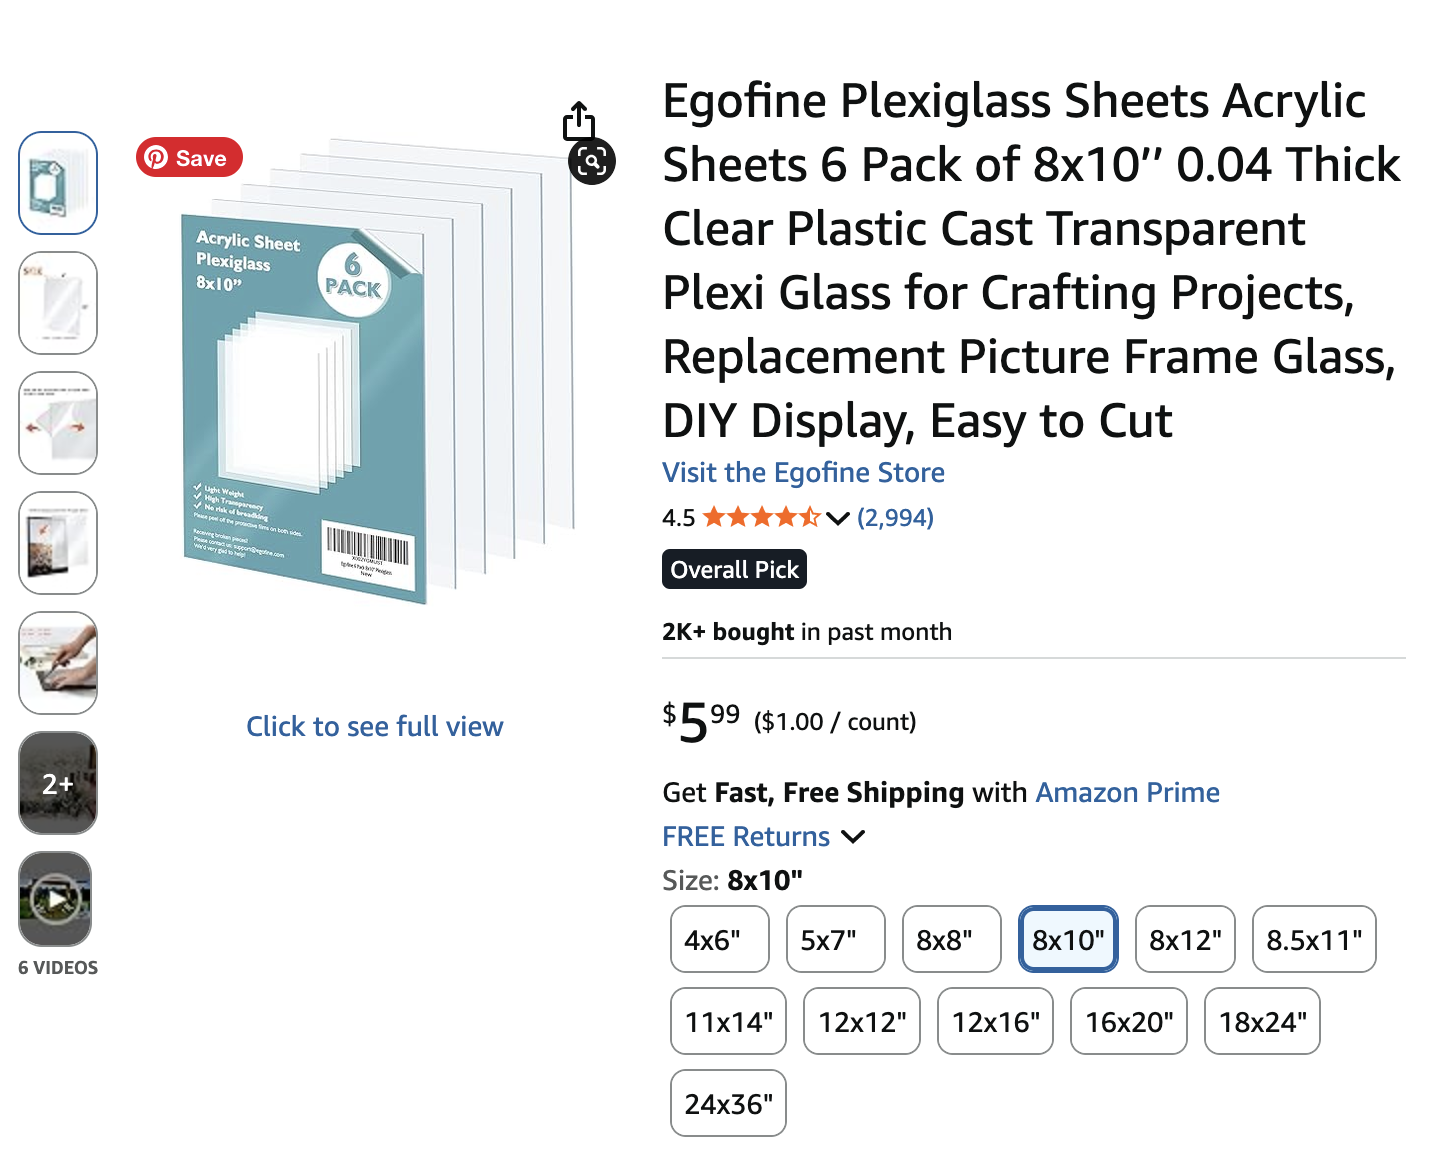
- Plexiglass sheets
- Black acrylic sheets
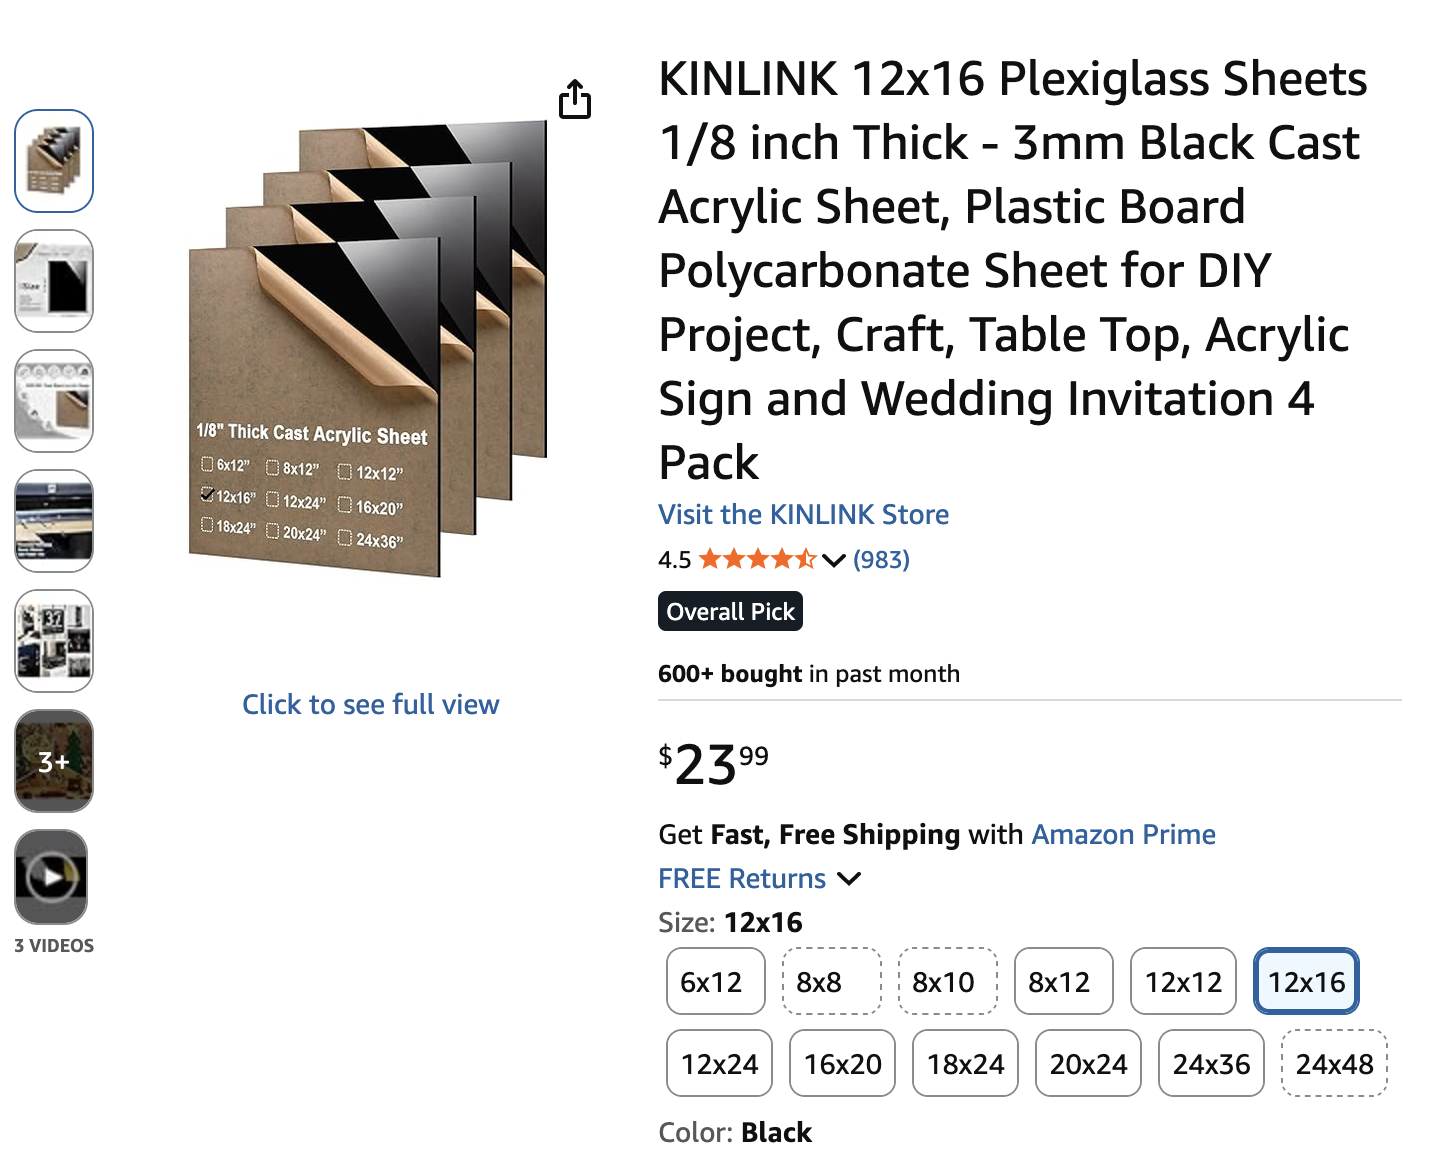
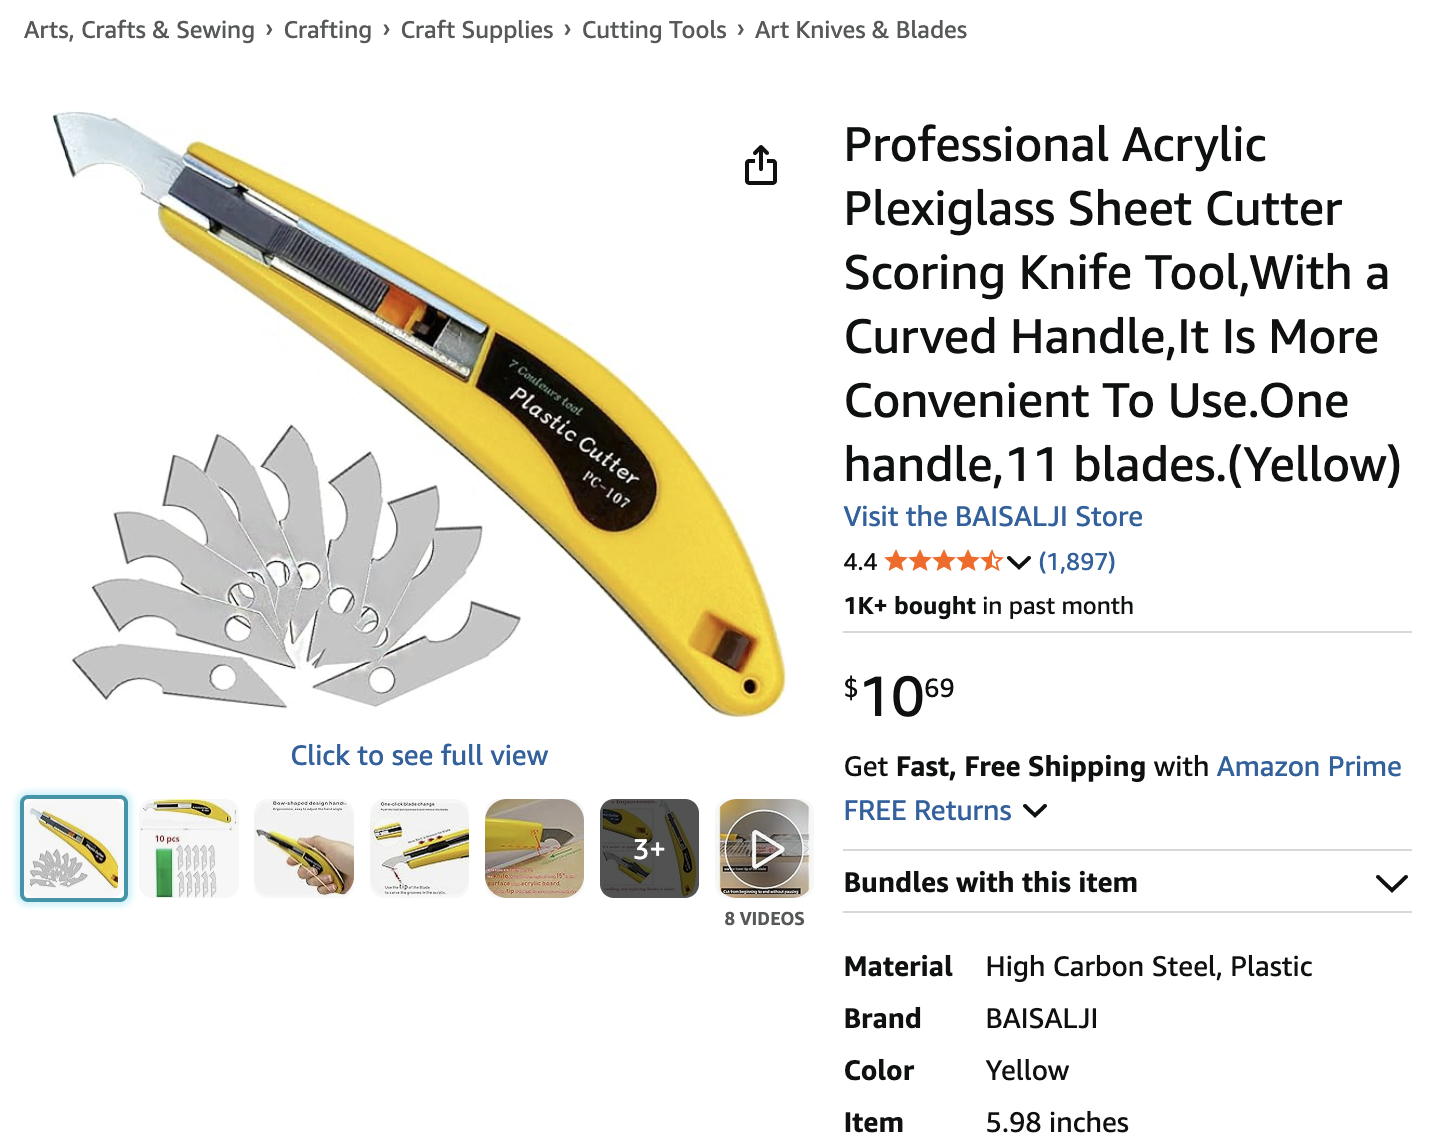
- Glass cutter
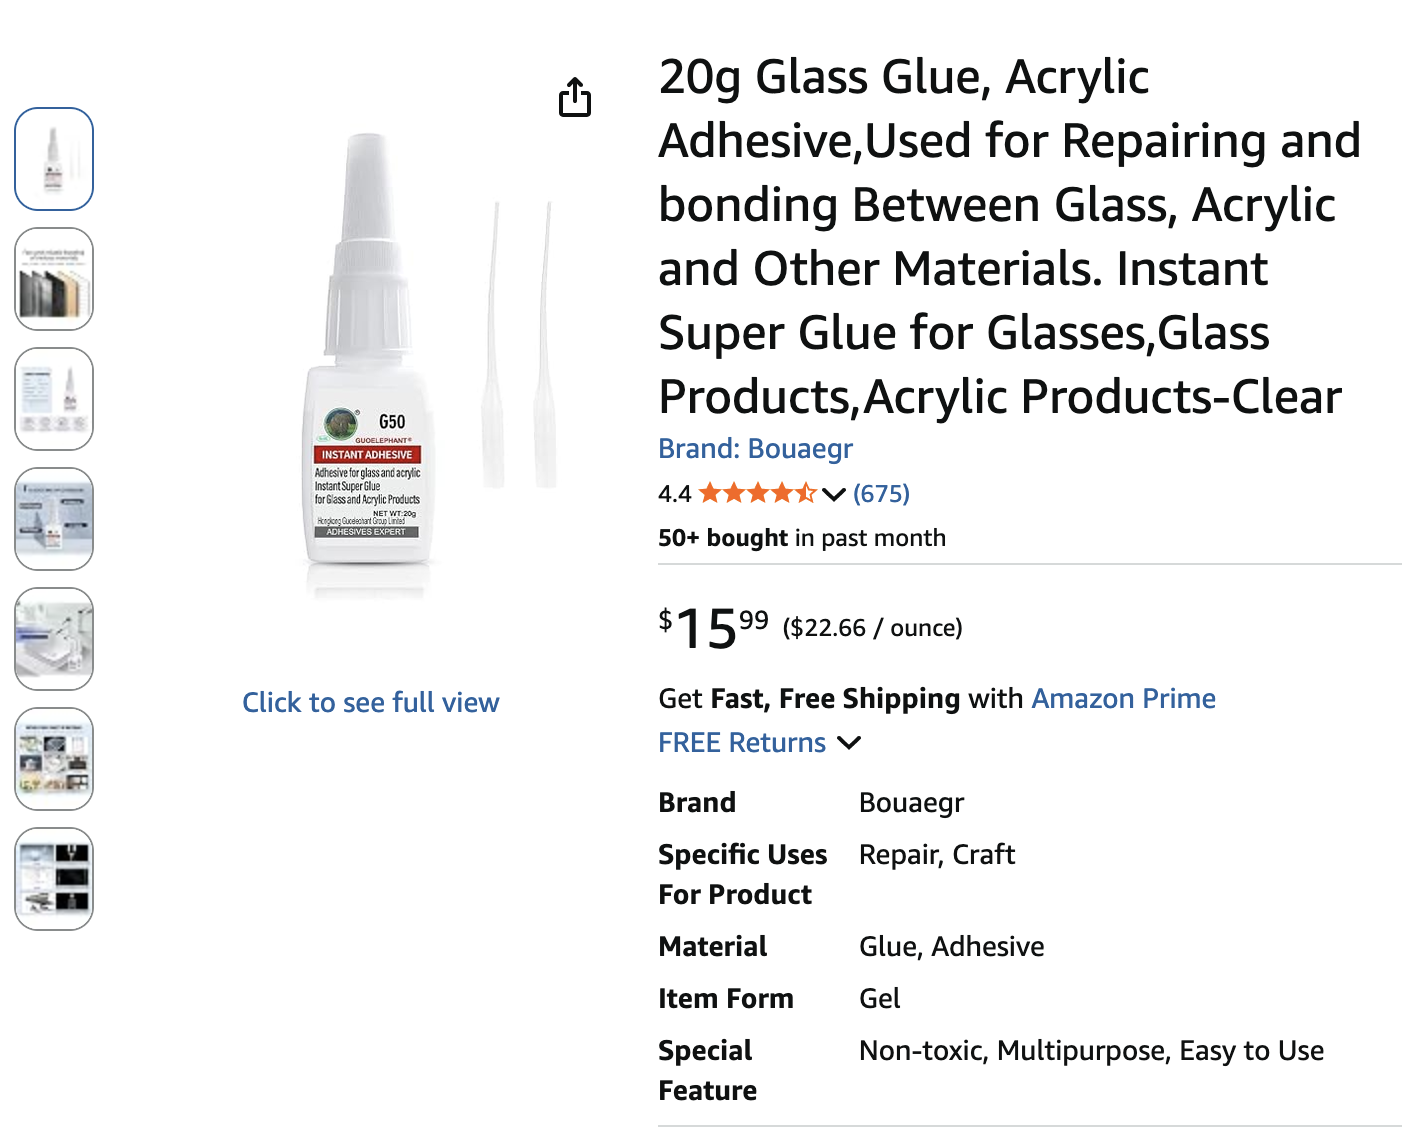
- Glass glue (this one specifically)
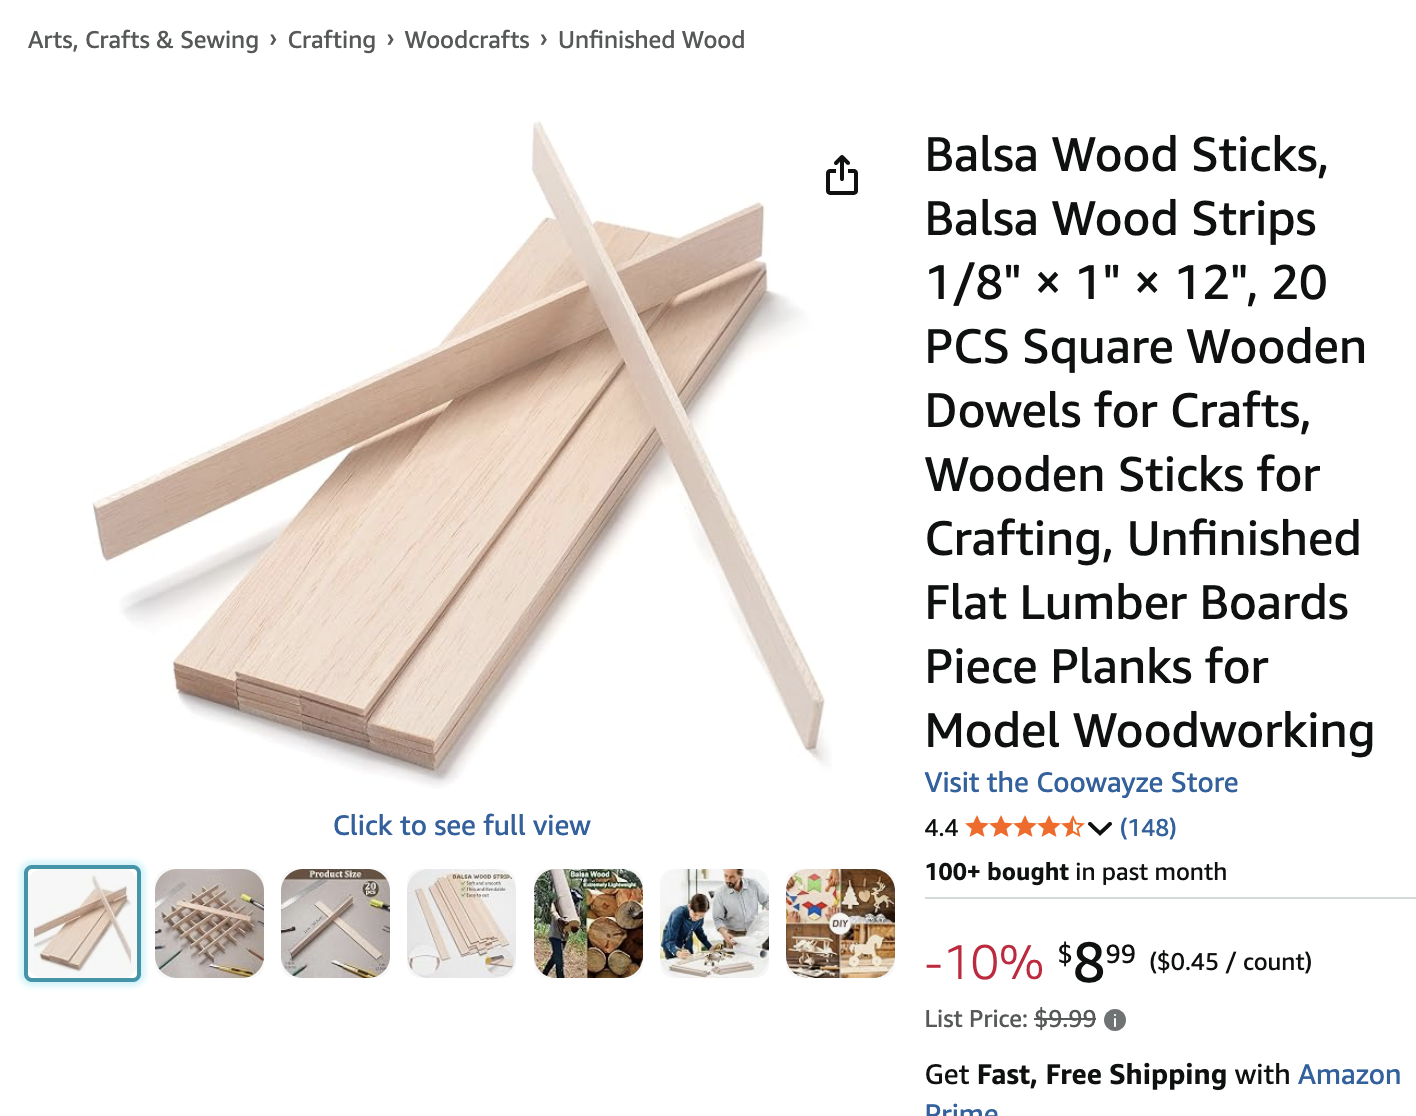
- Balsa wood
The first step here was setting up the Pi and Screen itself. There wouldn't be much work here besides attaching the Pi to the screen, getting some packages installed, and making sure everything turns on.
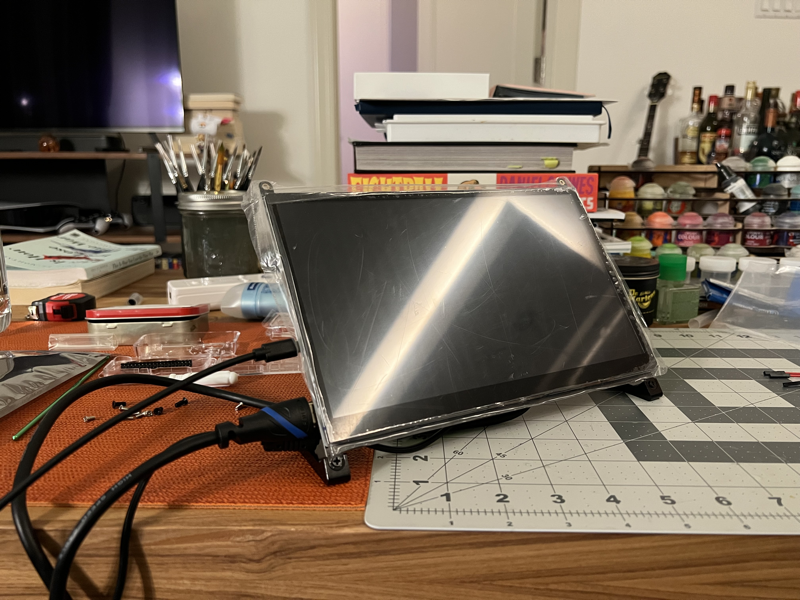
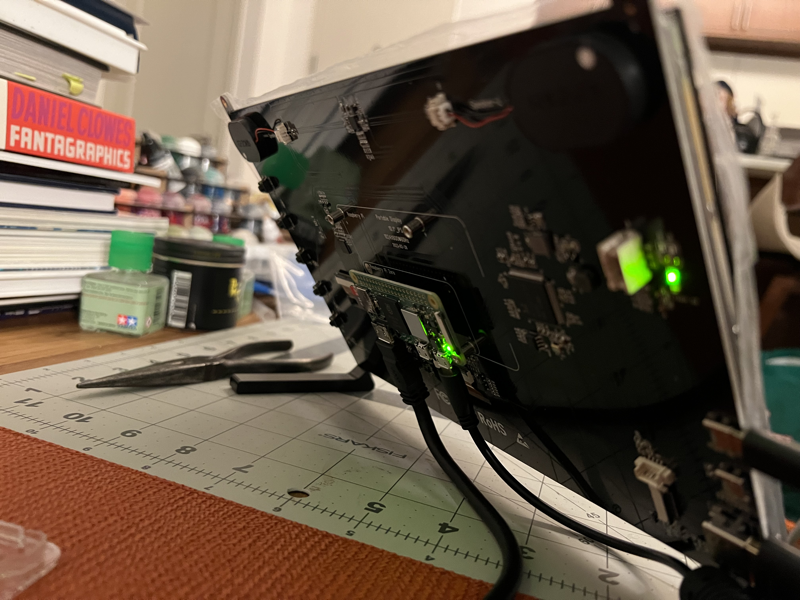
Then i wanted to get started with the mount. For that I would just use Balsa wood because its extremely soft and easy to mess around with without any wood working tools. To cut it I think i just used the acrylic class cutter and a metal straight edge again (the same tools we'd later use for cutting the acrylic and glass sheets. I didn't have to measure much at this point in time, just balanced the screen on the wood, made marks, and cut.
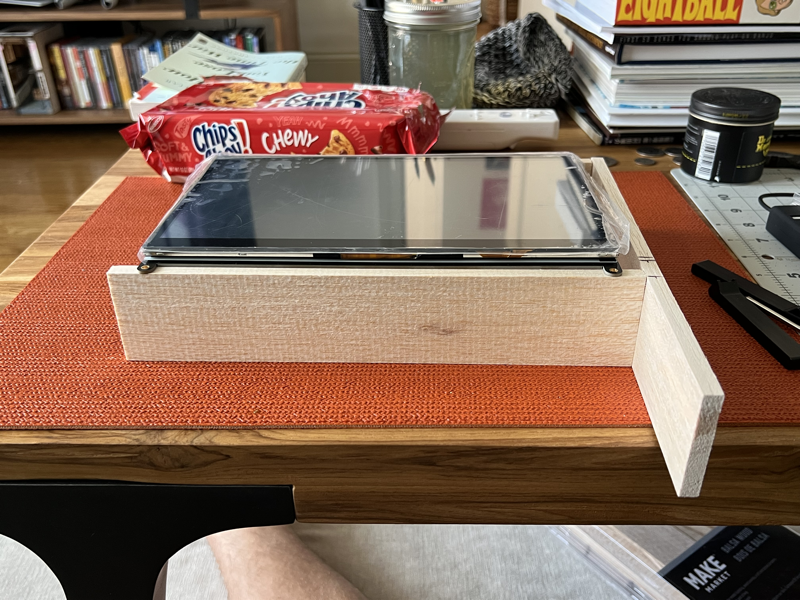
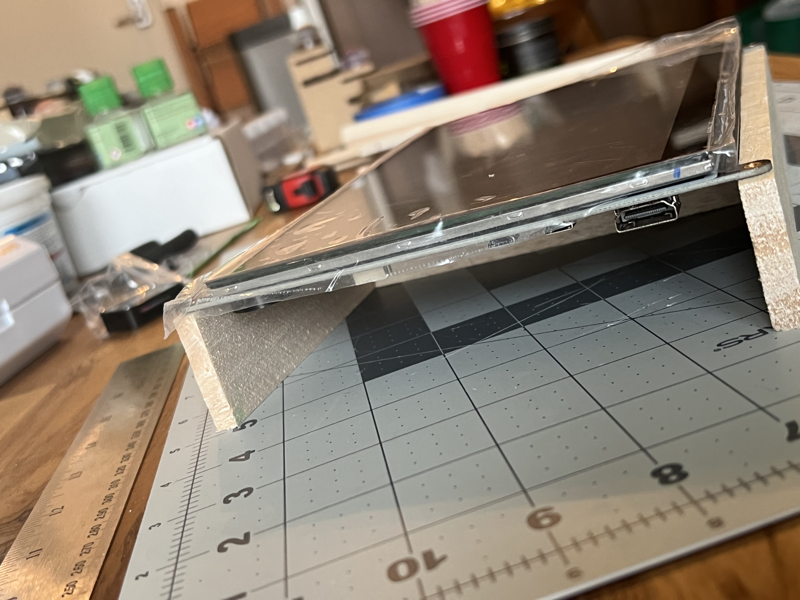
With the screen being able to now lay flat on its back without its components/the Pi touching the table, I moved on to the setup for the screen. I did that in kind of an odd way, first measuring the screen I beleive, then I cut some cardstock at those dimensions for the front and back glass panel. For the side panels of the glass box, I measured the height of the screen for the base length of the glass panel, and matched the height of the front and back panels. For the diagonal glass panel, I believe i started with a sheet of cardstock whose width was cut to match the width of the screen, and then I cut it down to size after placing the overextended sheet within the cardstock box. This all makes more sense with the result picture:
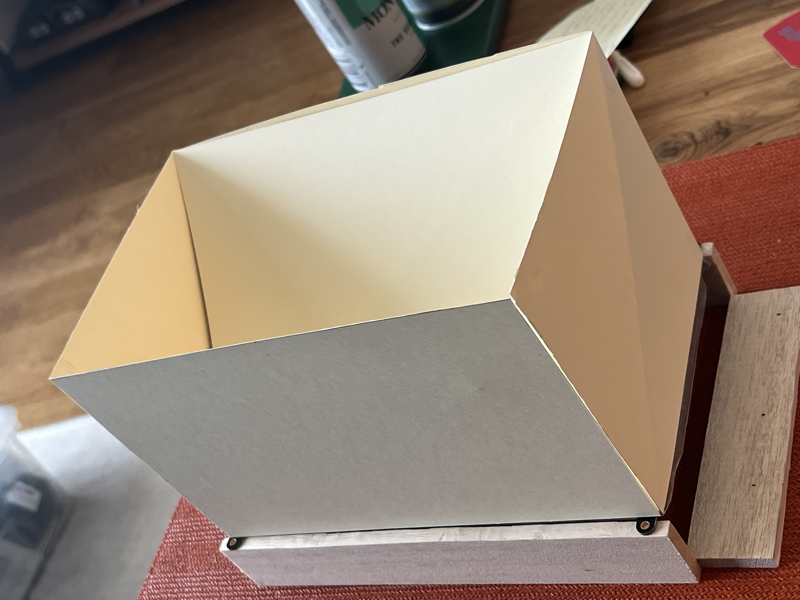
I had connected the cardstock box loosely so that i could then detach each of its faces. I attached these faces to the plexiglass sheets using painters tape, made marks with sharpey (since the glass sheets had a plastic film i could write on), and cut them to size.
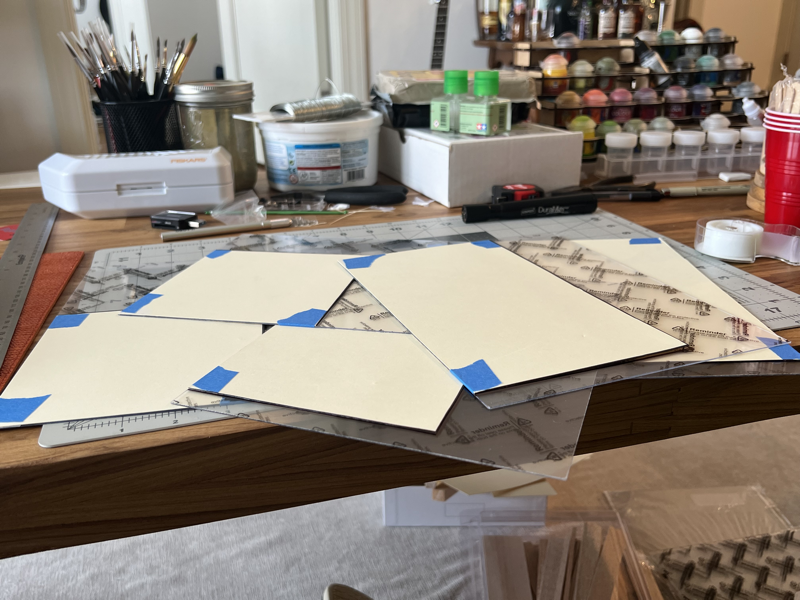
With the glass cut to size, I connected them together using painters tape to prepare them for glueing.
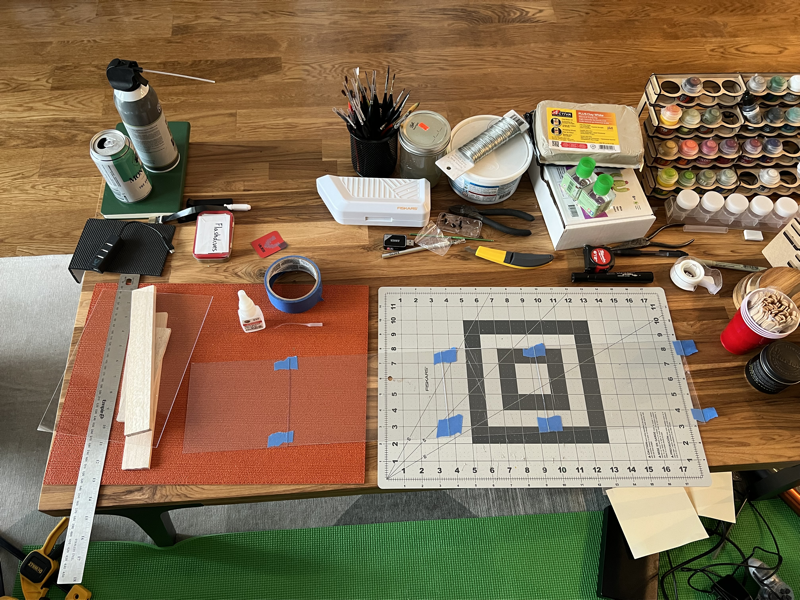
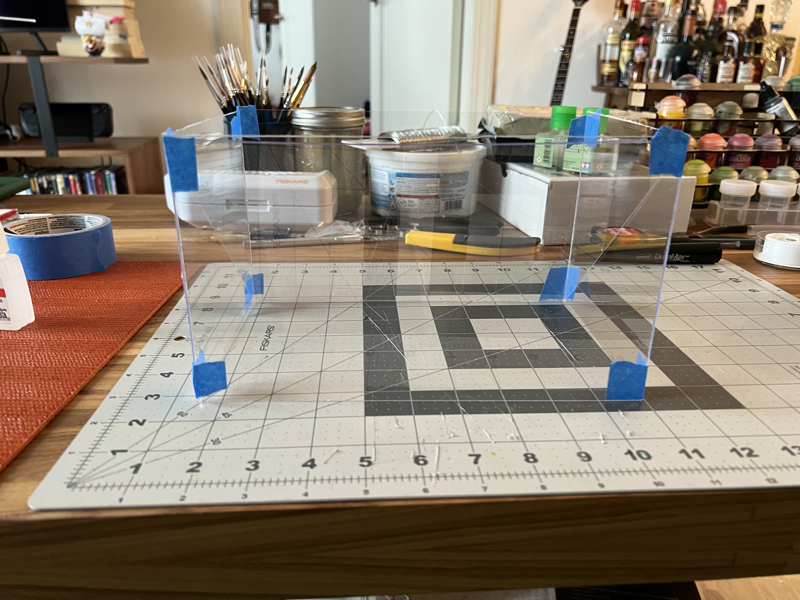
I brought the box up into its final shape and glued along the edges using the Glass Glue.
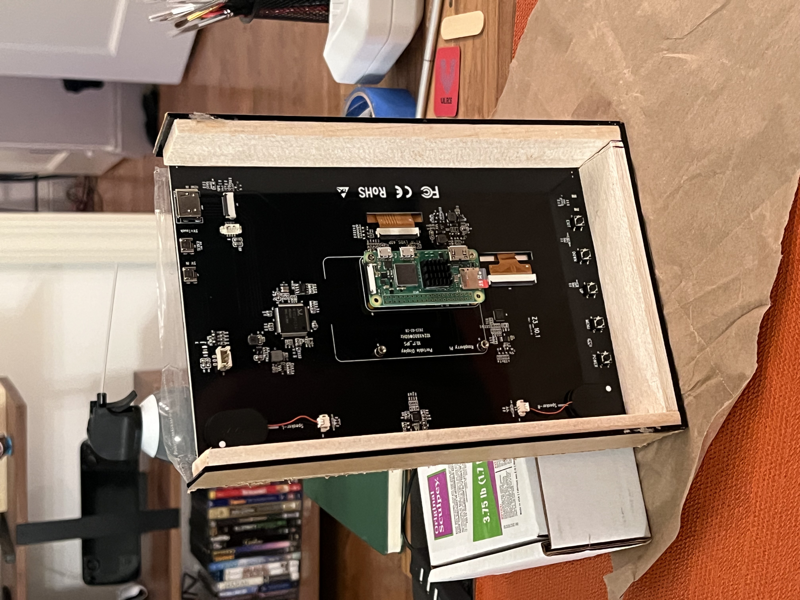
The final steps were all just for appearance. I wanted to cover the balsa wood with black acrylic, leaving some extra space so that the screw points of the monitor wouldn't be visible, and so that the glass box could slide into place. I made a handful of measurements for what size I would have to cut the black acrylic, sliced it out with the glass cutter, and attached everything together with glue (this time I think I used super glue, but I don't have any record of what I used).
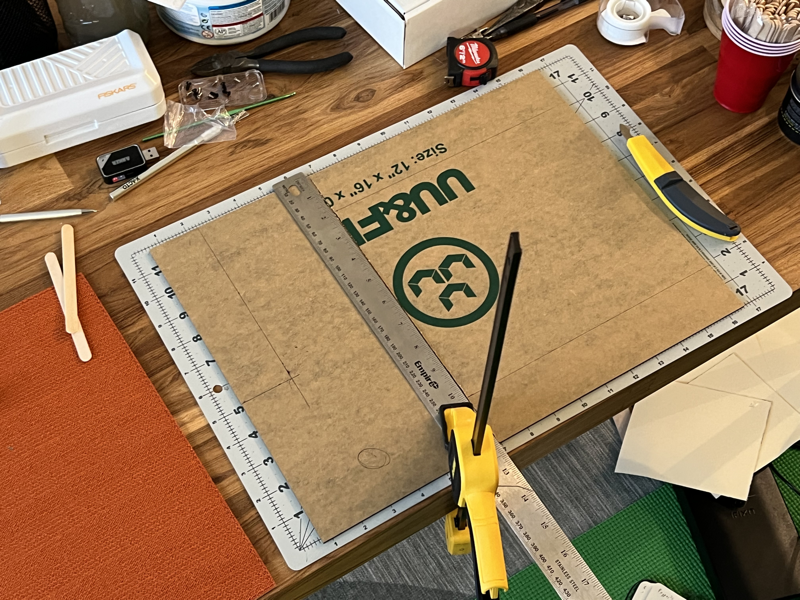
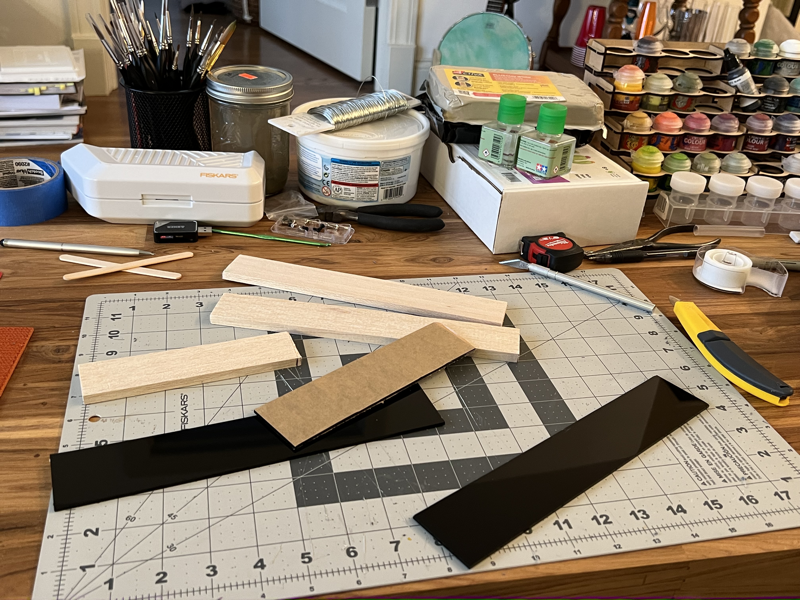
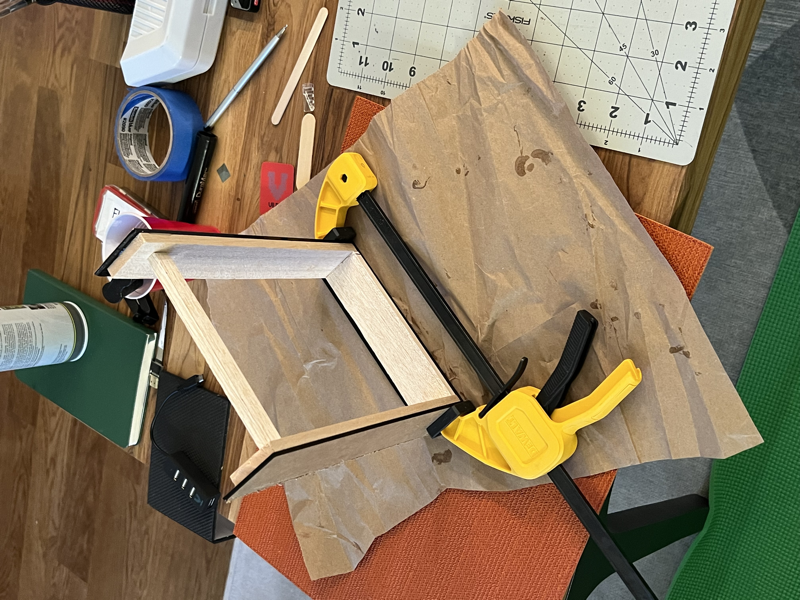
Ultimately I ended up with the monitor and Pi resting snuggly like so:
Adding Clock Scenes
With the screen mounted, and the glass box made, the next steps were all programming and video editing. The goal would be to be able to play a video with a black background, and a time indicator somewhere over the video. anything that was black in the video wouldn't be reflected on the glass sheet and would appear to be floating. I had programmed a web POC a while back to be able to jackbox-style create a host on a computer, and connect to it with your phone with a websocket to use the phone as a controller, so this was a good basis for making a phone "remote" to control multiple videos for the clock display. It was not made very well so it needed a fair amount of rework, but ultimately I got a visual like this running:
This picture is from further ahead than where we were at now but here is a picture of the "remote view" for mobile devices so that it could be more clear what that looks like:
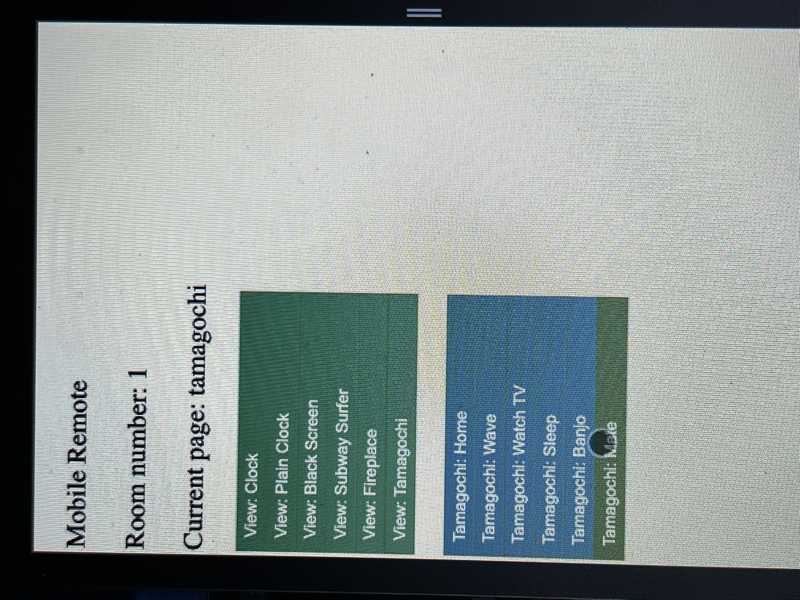
In that image you can see "Subway Surfer", "Fireplace", and "Tamagotchi" as scene options. "Tamagotchi" is a whole project in itself that I will describe soon, but the Fireplace and Subway Surfer scenes were from a quick task to add youtube videos as an option for the clock. The fireplace looked like this:
Making "Me as a Tamagotchi"
At this point a useful clock was done and setup on my TV stand, so I could move onto messing around with more complicated behavior. For the next scene I wanted to make "Me as a Tamagotchi", where I record a handful of videos of myself in front of a green screen, play them in the fishtank so that its like I'm living in there, and then I can take care of myself by doing things like making my tamagotchi play banjo/watch TV for enrichment, or drink Mate for food. My stretch goal was going to be implementing shaking my phone over the fishtank like a fish food feeder, and having little hamburgers drift down that "I" would then walk around to catch.
I got started by doing some drafting in my living room to see what placements looked good, and how those placements looked on the fishtank.
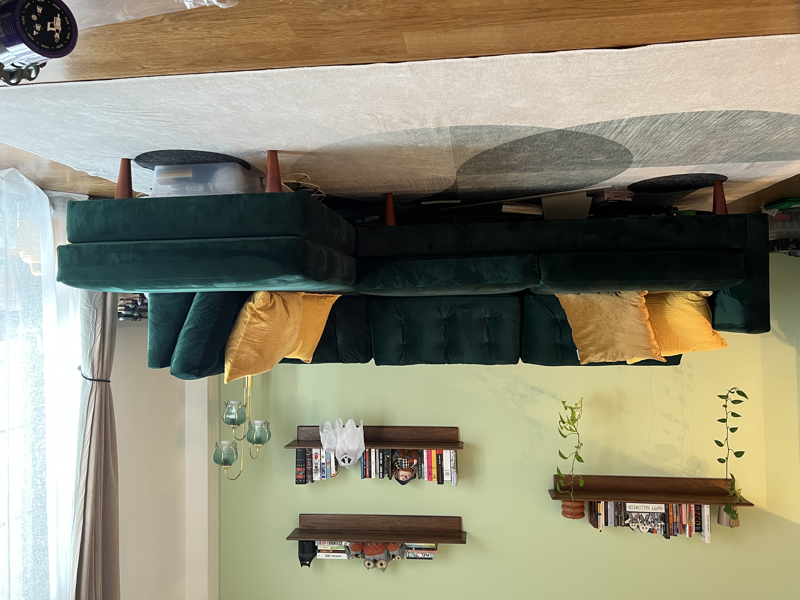
I took a picture of my couch:
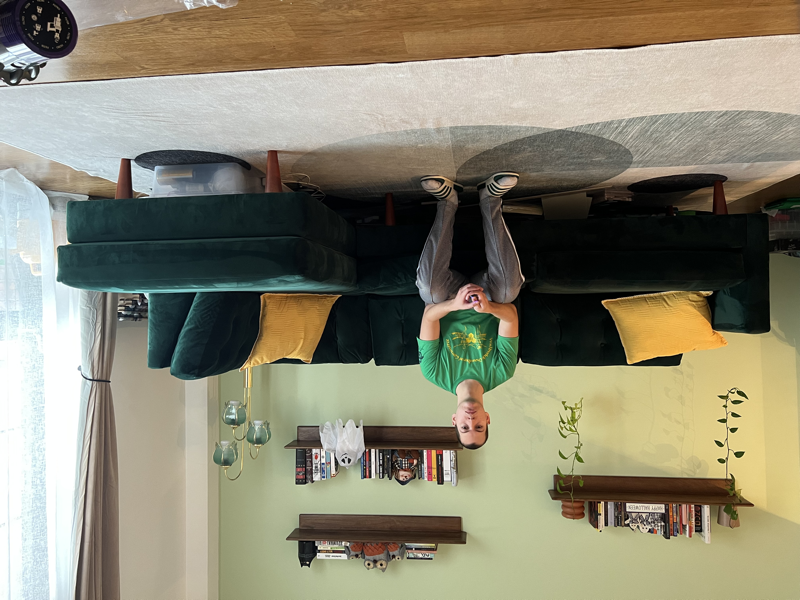
Then a picture of me on the couch:
Then I took a picture of the couch with the greenscreen:
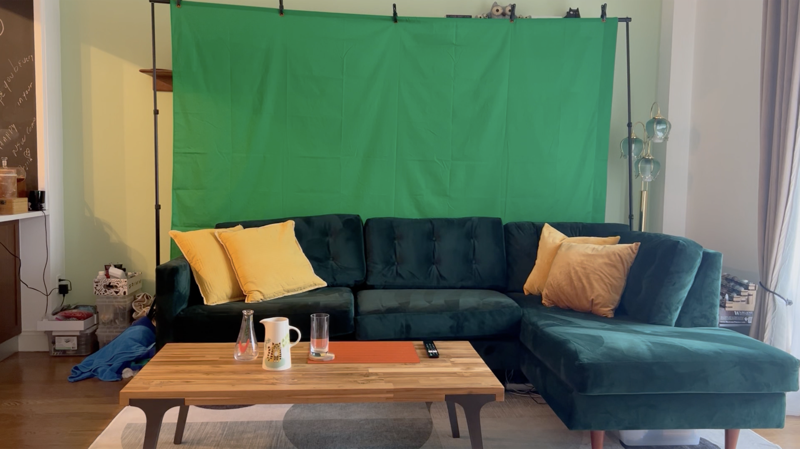
This helped me get a basic idea of what things would look like, and how I would fit in the frame. With that I took an awful first draft of the scenes:
I edited these to get an idea of what it would look like in the fishtank and it looked awful. This wasn't really an issue but one ridiculous choice was wearing a light green shirt for my greenscreen video. More of an issue was just that my clothes in general weren't super visible when reflected against the glass. This informed me to wear white clothes in the next draft of videos, which is why I ultimately ended up in such an odd white outfit.
The other issue this clarified for me was that I'd have to block out my movements so that I could transition between videos better, and to time the actions I took to be reasonably long and allow a buffer for editing. For each scene I ideally would start and end at the rest position (the "idle animation") so that i could make transitions seem seamless. This would make the project a small state machine that would always return me to idle before playing a different scene. For example, if I was in the "Playing banjo" scene and I selected "Watch TV", I would first return to Idle because that is the scene from which I could transition without a massive jump between my location in the living room.
This may not be an effective explanation, so here is a video of a transition from the rest/idle scene, to the watching TV scene:
The thing to note is just the lack of a jump between rest and watching TV since I started the Watching TV scene from the end of the the idle scene.
The full set of scenes was recorded in one go with some music in the background to help my timing:
Everything was working pretty good at this point so I could rest easy.
Next steps:
There were a ton of next steps that I never really got to.
The first was to expand on the Tamagochi to make it actually have needs that changed over time, having hunger/caffeine needs, enrichment needs, etc. I would also implement a schedule for him so that he would feel more alive in the clock, going between actions himself on a schedule, for example, going to the sleep scene when my real bedtime approached.
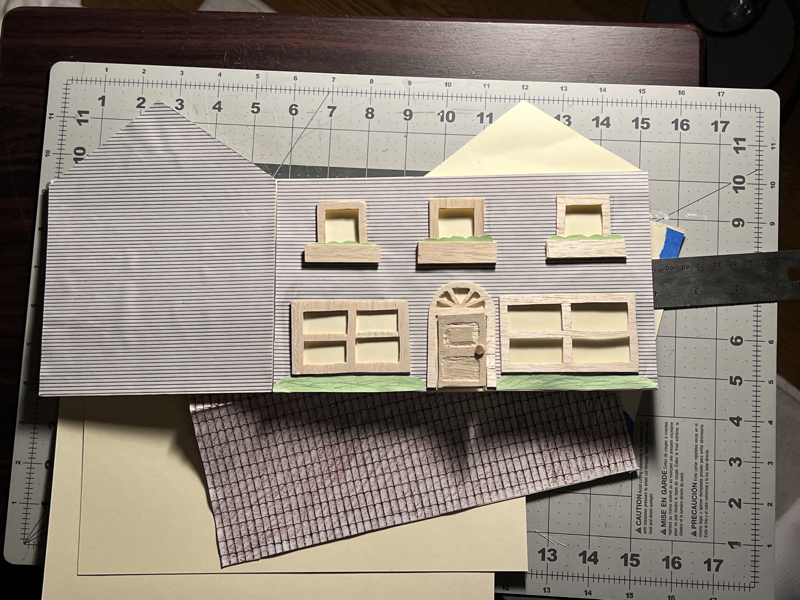
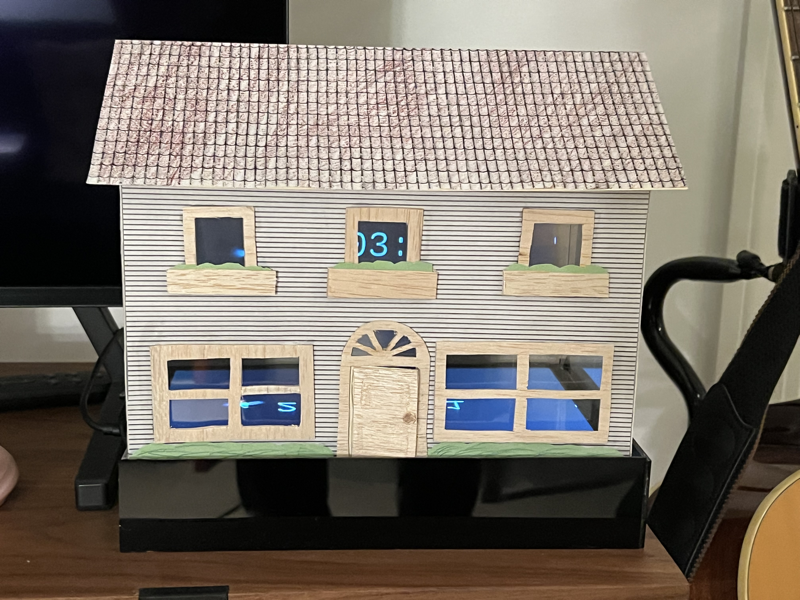
The second was going to be to implement a "Doll House" craft wrapper to fit around the fishtank. The idea would be that i make something that looks like a house with transparent/cut out windows and doors. I would animate different rooms in Blender/video software so that when you peak into each room you could see different things happening. For example if you peak through the front door, maybe you'd see the living room with people hanging out, gaming watching TV. If you peak into the living room you could see someone reading a book/sleeping in bed. If you peak into the gym you'd find someone exercising. Etc. This was what the craft itself ended up looking like:
Heres what it looked like on the clock:
Heres what it looked like with one of the clock videos running:
At that point I was fully out of steam and didn't like working on this so I didn't add much more. All that I'd add was little random videos like a halloween scene. The point of issue with working on it was that because of the amount of videos involved, I couldn't find a great solution for automating changes to the raspi that would run this project. I currently have to close the project, copy over the files from my NAS to the Raspi, and then spin the server back up and navigate to it. That wouldn't be too bad on a normal computer, but the Raspi 0 is so weak that every click is a slog, and i also have to connect a keyboard and mouse to the Pi. Its all just tedious enough to make me not want to do it. Also, the Pi I used for this project does just struggle in general, especially when changing scenes on the webpage.
For the Pi, I might just upgrade it at some point. I have a leftover Pi4 from an octokit project from a long time ago which is now unused, so it would be an easy swap.
For the ease-of-work issue, I recently setup Gitea on a server in my apartment so that I can increase file size limits on git managed projects, so I'm going to ideally update the Fishtank setup to poll for updates through a gitea repo. With that setup, I could just push to the Fishtank gitea repo on my local server, and have the clock update nightly to pull the latest files and restart the Raspi web server. If I get that working well, then adding new scenes and features would be a breeze and I'll add more to this happily.